Ledger.com/start
Your official starting point for setting up a Ledger hardware wallet securely. Learn how to protect, access, and manage your crypto assets with confidence.
Introduction
Entering the crypto world can feel overwhelming. With so many wallets, exchanges, and platforms available, choosing a safe and trustworthy method to store your digital wealth is crucial. This is where Ledger.com/start comes into play. It’s the official Ledger onboarding page, designed to guide users through setting up their Ledger hardware wallet step by step.
Whether you just purchased a Ledger Nano X or Ledger Nano S Plus, or you’re exploring hardware wallets for the first time, this guide will walk you through everything you need to know—right from unboxing your device to managing your first crypto transaction securely.
What is Ledger.com/start?
Ledger.com/start is the official Ledger setup portal. It acts as the first stop for new users to activate, configure, and connect their Ledger hardware wallet. Instead of relying on third-party tutorials that might be outdated or unsafe, Ledger directs users to this page to ensure they follow the correct, secure procedure.
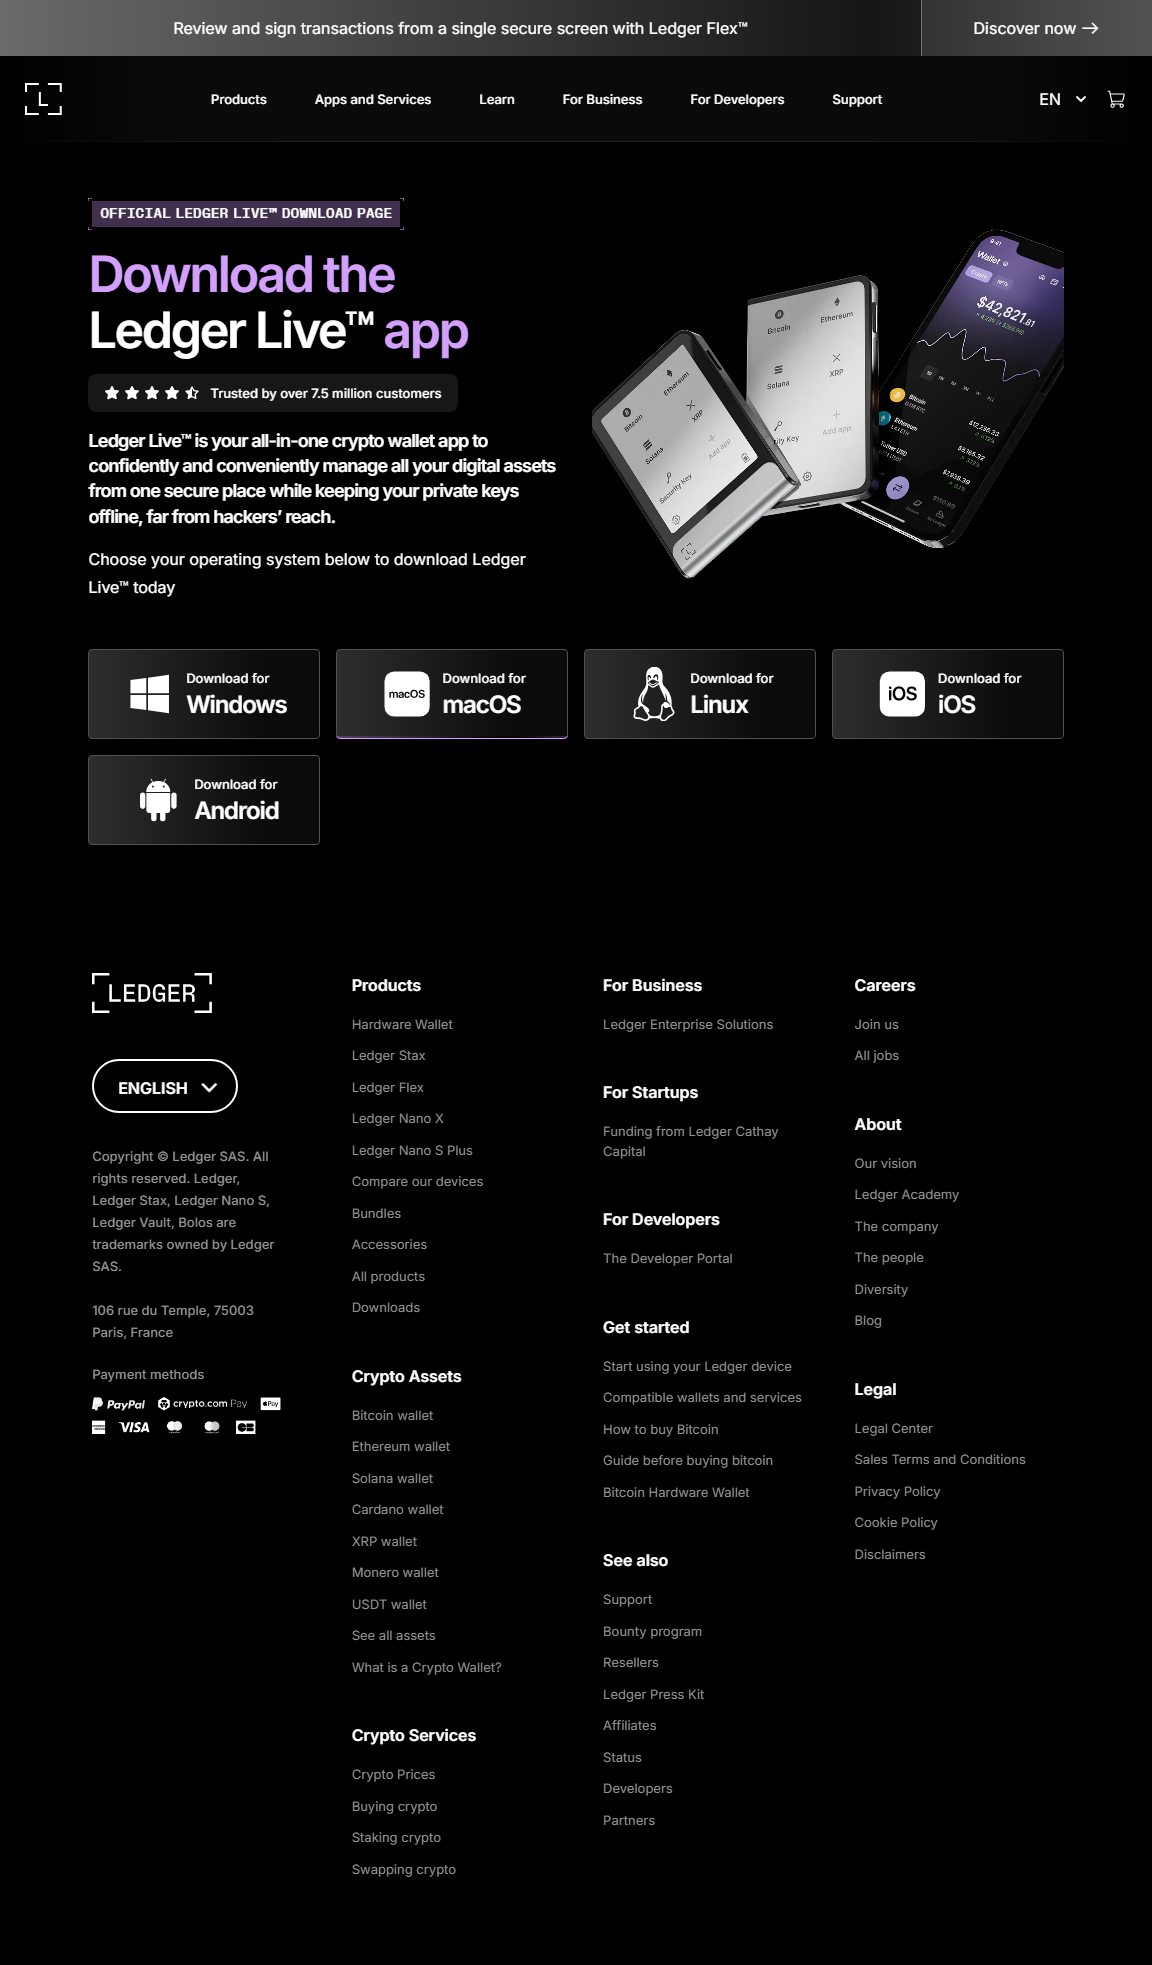
Ledger Devices Supported
Currently, Ledger.com/start supports the following hardware wallets:
- Ledger Nano X – Bluetooth-enabled, ideal for mobile and desktop users.
- Ledger Nano S Plus – Affordable and powerful, perfect for desktop users with larger app storage.
- Legacy Nano S – Still usable but discontinued; newer devices are recommended for full compatibility.
Step-by-Step Setup at Ledger.com/start
Step 1: Unbox Your Ledger Device
Inside the package, you’ll find the Ledger device, a USB cable, recovery sheets, and instructions. Always ensure the box is sealed and untampered.
Step 2: Connect to Your Computer
Plug in your Ledger device using the USB cable. Follow on-screen instructions on both the device and your computer.
Step 3: Go to Ledger.com/start
Open your browser, type Ledger.com/start, and you’ll be guided to download the Ledger Live app.
Step 4: Install Ledger Live
Download Ledger Live for your OS (Windows, macOS, Linux, iOS, Android) and install it securely.
Step 5: Initialize Your Device
Set a PIN code on your Ledger device and write down your 24-word recovery phrase on the recovery sheet provided.
Step 6: Verify and Secure
Confirm your recovery phrase directly on the device to ensure accuracy. Never store it online or share it.
Step 7: Start Using Ledger Live
Once initialized, Ledger Live will connect with your device. You can now add accounts, transfer funds, and explore crypto services securely.
Pro Tip:
When setting up your device, take your time writing down the recovery phrase. This is the master key to your wallet. If it’s lost, your funds cannot be recovered.
Ledger.com/start vs Third-Party Setup Guides
| Feature | Ledger.com/start | Third-Party Tutorials |
|---|---|---|
| Source | Official Ledger website | Varies, may not be trustworthy |
| Security | Guaranteed safe | Potential phishing risks |
| Instructions | Always updated | May be outdated |
| Support | Integrated Ledger support | None or limited |
FAQs about Ledger.com/start
1. Is Ledger.com/start safe?
Yes, it is the official and safest way to set up your Ledger wallet. Always ensure the URL is correct.
2. Can I skip Ledger.com/start and set up manually?
It’s strongly recommended to follow Ledger.com/start as it ensures you don’t miss critical security steps.
3. Do I need the internet for setup?
Yes, internet is required to download Ledger Live and verify firmware updates, but your private keys remain offline.
Conclusion
Ledger.com/start is more than just a setup page—it’s your first step into the world of secure crypto ownership. By following its guided instructions, you ensure that your device is configured properly, your funds remain safe, and you can start exploring the crypto ecosystem with confidence. Remember: in the world of digital assets, security comes first, and Ledger provides you with the tools to stay one step ahead.